


Getting Started on Django
In the previous blog post we saw a little about creating responsive web page using Bootstrap framework. This is part 1 of many post on getting started on web development. We are going to see from basic concepts of creating a webapp to deployment in cloud using Django.
What is Django?
Django is free and open-source Web framework written in python. It is often known as
The web framework for perfectionists with deadlines
Installation
Python Installation
Why python? Django is written in python, so it needs python to run. Specifically we need python 3 since python 2 is nearing its end of support.
Visit https://www.python.org/downloads/ and it will automagically detect your operating system and displays latest version. Download and install it.
Note:
- Make sure to check ‘Add python 3.x to path’ and proceed with default installation parameters.
- Python 3 is now available in windows store(link here)
- Python is available by default on Linux and OSx but you need to update it to latest version
To verify installation,
On Windows open Command Prompt and type python --version
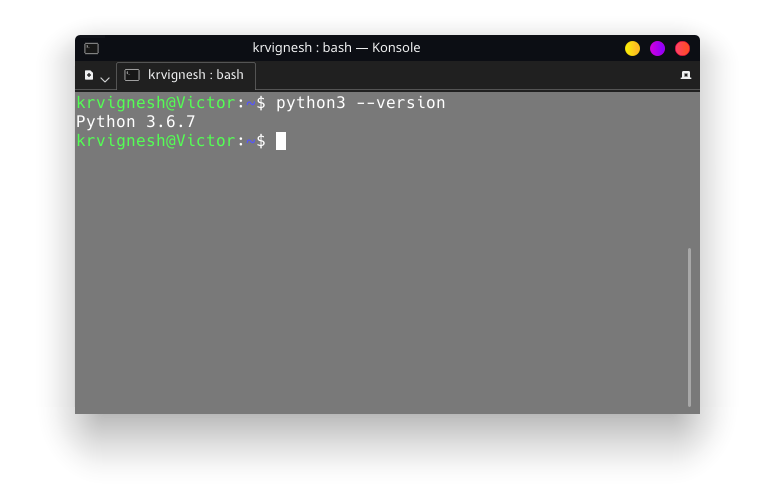
On Linux/OSx Open Terminal and type python3 --version
and it should display the installed version number as shown below
PIP Installation
PIP is a tool for installing Python packages.(python package manager). Pip is installed by default along with python installer
To verify installation,
On Windows open Command Prompt and type pip --version
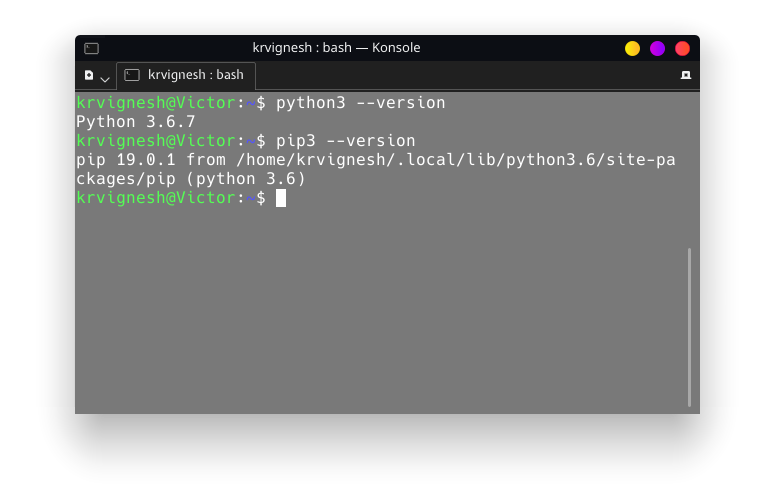
On Linux/OSx Open Terminal and type pip3 --version
and it should display the installed version number as shown below
Virtual Environment
When working on multiple projects Creating virtual environment allows us to install different version of same packages without affecting the global version or other packages. The basic concept is whatever happens inside project folder stays inside project folder.
Before installing a Virtual Environment, Create a newfolder and enter into it
On Windows open Command Prompt and type pip install virtualenv
On Linux/OSx Open Terminal and type pip3 install virtualenv
After Successful installation, Let’s create our venv using the following command python3 -m venv djEnv
The above command creates a virtual environment named djEnv(you can use any name). We need to activate our venv before using it. To activate execute the following command
On Windows open Command Prompt and type djEnv\Scripts\activate
On Linux/OSx Open Terminal and type djEnv/bin/activate
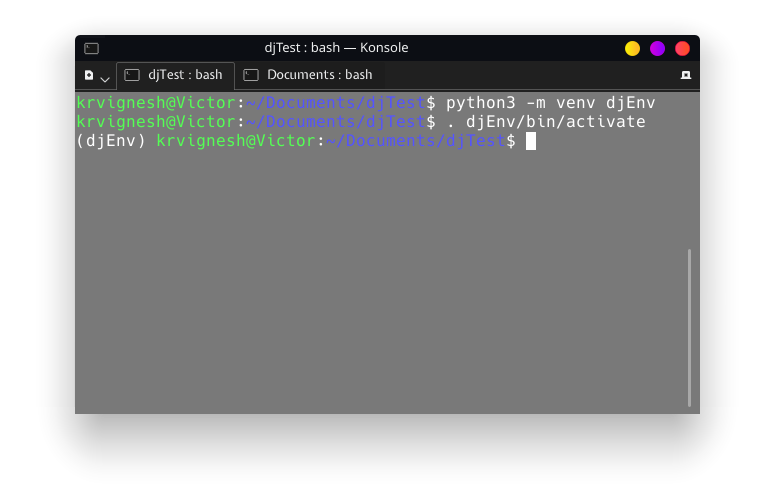
After activating virtual environment you should see (djEnv) as prefix. Now we are ready to install django
Django Installation
Django can be installed with PIP using the following commandpip install django
Verify the installation by checking the django version python3 -m django --version
Now lets create our django powered site
On Windows open Command Prompt and type django-admin.exe startproject djSite .
On Linux/OSx Open Terminal and type django-admin startproject djSite .
After executing the above command you should see the directory like this inside our test folder
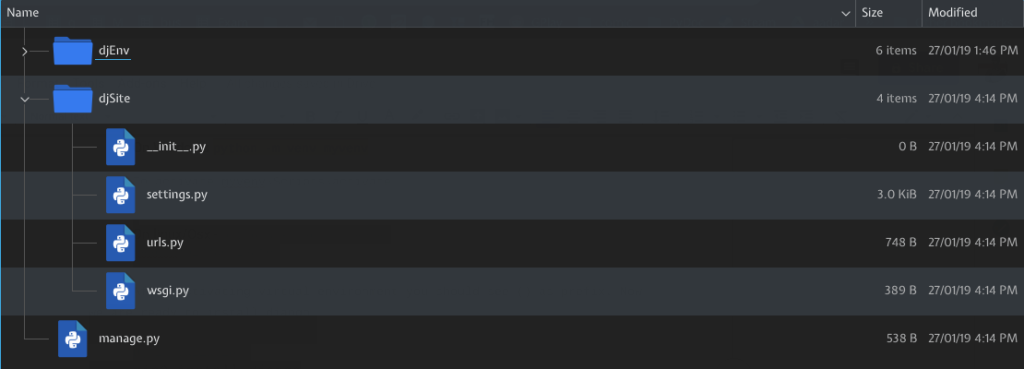
On the outside we have manage.py it is used to manage the site and django has a built in webserver for development purpose which can be started using this file. And inside oursite(djSite) we have settings.py in which all the configurations of the site are stored. Then we have urls.py which contains all the urls of our site. Rest of the file are not important now and we will discuss it later.
Lets test our site by running it on our webserver using the following command.python3 manage.py runserver
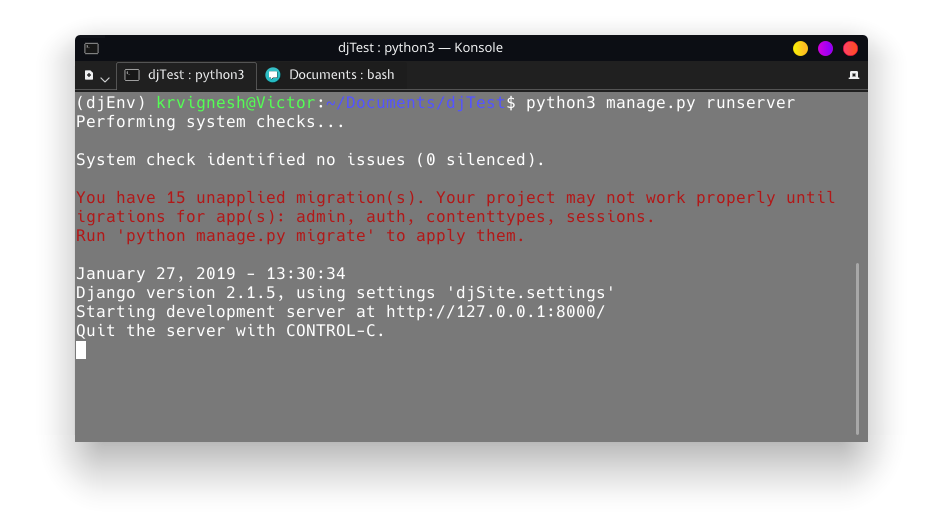
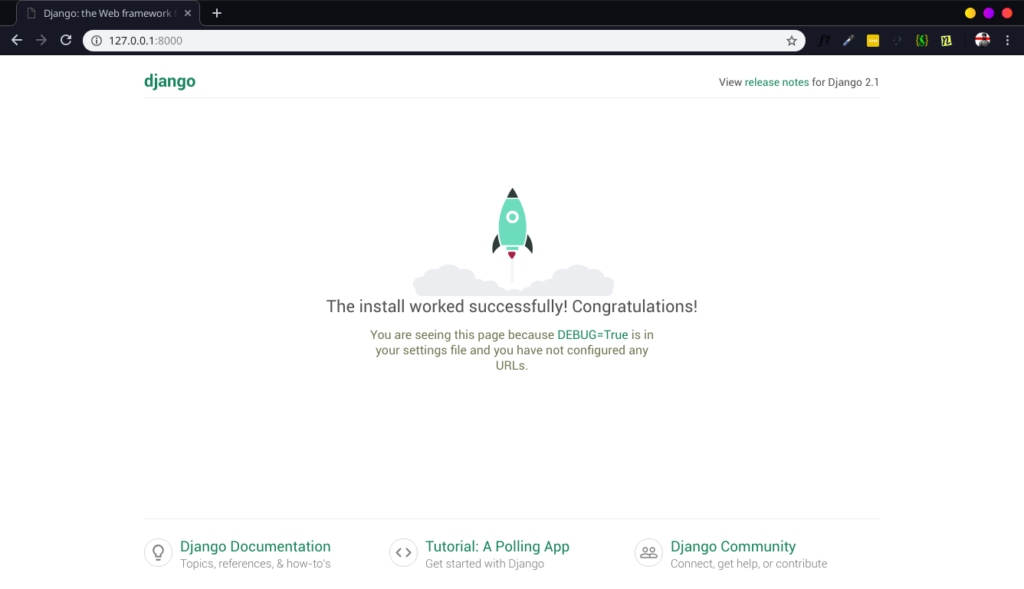
Ignore those migration warnings now that the server is started visit http://127.0.0.1:8000/
On your browser and you should see the image as below which indicates django is configured correctly.
Now let’s add some html to our project. Create a folder called ‘templates’ to place our HTML files. Inside templates create index.html and write your HTML code.Placing the html files doesn’t work. We need to tell django to look into templates folder. We do so in settings.py. Append the string ‘templates/’ inside DIR array under TEMPLATES See here and save the file
Create a new file called views.py inside project folder which is used to define the function to get and load the template
Finally, in URL.py we define a url for the html to be displayed, so the user can go the url and view the
page.enter the following code in urls.py
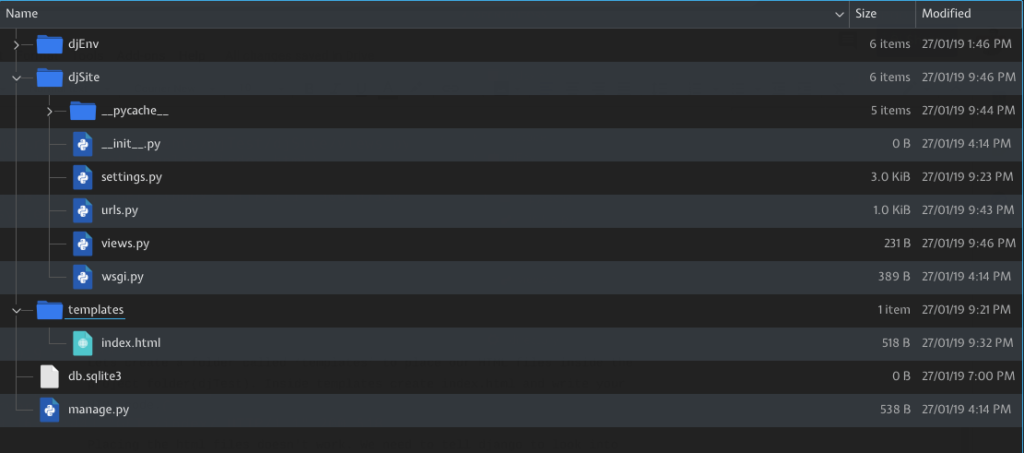
This is how our final folder structure looks
Now again run the server and go to http://127.0.0.1:8000/index/ our html page will be loaded successfully.
Now we are about to deploy it into real server and go online
- Add the project into a new github repo
- Create a free account on https://www.heroku.com/
- After loginig into heroku dashboard click create new app fill the details.
Now before deploying we to do a little configuration for Heroku
- Procfile is used to say what command should be run by heroku to execute our project. Create a Procfile inside the project folder by copy pasting the following line
web python manage.py runserver 0.0.0.0:$PORT - Next Create a file called requirements.txt and write the list of packages to be installed. At the moment we have only one package django to be installed so write django inside it and save it.
- In settings.py add the following two lines
										STATIC_ROOT = os.path.join(BASE_DIR, 'staticfiles')

										ALLOWED_HOSTS = ['localhost', 'dj-tutorial.herokuapp.com/']
Replace 'dj-tutorial.herokuapp.com/' to your heroku app name.
Now push the changes to github and back to heroku dashboard.
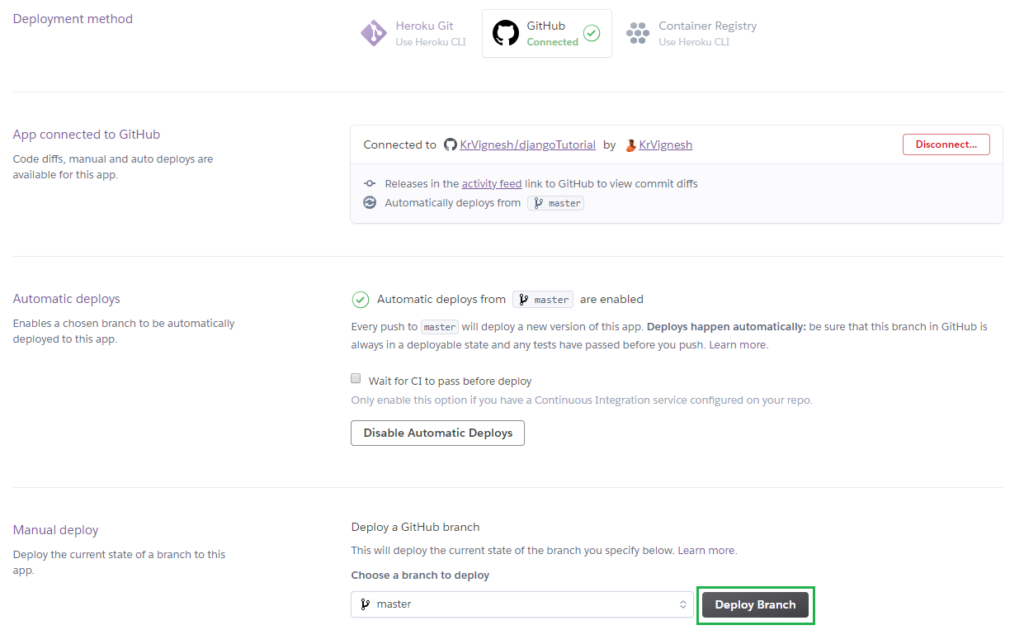
- In the next screen under deployment method click github and then click ‘Connect to GitHub’.
- After connecting to GitHub, in the new screen click search the github repo and click connect, then check enable automatic deploy and finally click Deploy Branch.

After getting success message click view and navigate to /index/
i.e. https://dj-tutorial.herokuapp.com/index/.
Thats it now we have our first webpage(to be evolved as webapp) deployed on server.
To summarize we installed python and its tools(pip,venv) then using venv we created a virtual environment and installed django using pip. Finally we created a project, added html files inside template folder, configured settings for heroku before deployment.
In the upcoming posts lets see how to store and display dynamic data in our site based on our users.